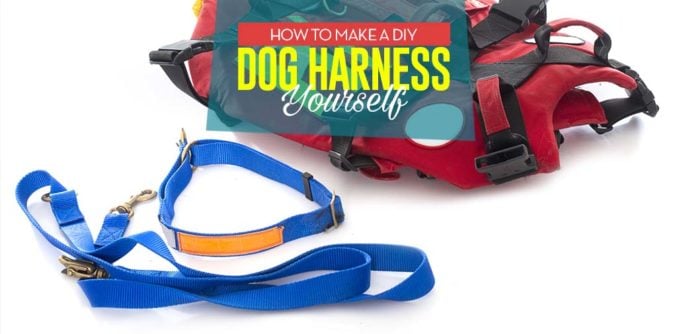
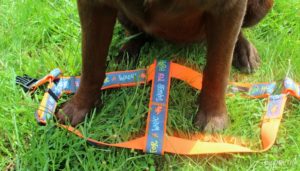
Whether you find commercial dog harnesses expensive or you want to make a harness that will fit your dog perfectly, DIY dog harness is actually quite simple to make. So if you're in need, instead of buying dog harnesses, here's how to make a dog harness yourself at home (a regular one and a no-pull harness alternative).
How to Make a Dog Harness – Regular/Simple Harness
For this dog harness, you will need:
- Rope
- Fabric
- Thread
- Sewing needle
1. Choose the Rope
A soft, cotton rope is the best choice for a homemade DIY dog harness. You also have to choose the right size and thickness of rope depending on your pup. For small dogs, use a lighter rope, but if you have a large dog then you need to go with a thick piece of rope. For length, stick with 11 to 12 feet of rope.
2. Measure Your Dog
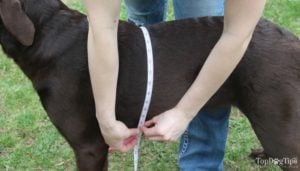
Measure the chest of your dog – here's how to do it. You will need more rope if your Fido has broader chest so you can make the harness fit the dog perfectly.
3. Knot the Rope
Put the rope down on a flat surface and then fold it in half. Both sides of the rope should be equal in length. Slide the folded end under the rope to get something that looks like a reverse letter “P”. Hold onto the original fold and bring up the piece you slid before, right over the top of the rope. Now it should look like a lowercase letter “d”.
Wrap the last folds around themselves so you can create a third loop. Put the third loop through the second loophole and pull the first loop over the last loop that you made, and then pull it down at the base. This should lock it into place.
4. Put the Harness On
Now, you have a DIY dog harness body, which is similar to rabbit ears. To put the harness on your dog, you should slide your dog’s front legs through these two loops. The sliding knot should stay on your dog’s back. You can slide it up and down to adjust the harness but harness knots should be in the middle. That way the weight of your dog is evenly distributed.
Make sure that the knot that makes the two loops for dog’s legs is fairly loose. You should be able to easily slide it. If you see that it is too tight, take the harness apart and start over. This time, don’t pull the rope too tightly again.
The last touch is to stitch some fabric across the “rabbit ears” of the DIY dog harness to make your pooch more comfortable because this fabric will stay on your dog’s breastbone when he wears his harness potentially for hours.
How to Make a Dog Harness – A No-pull Harness Alternative
A DIY no-pull dog harness is a bit different than a regular harness and it is a better choice if you have a dog who likes to pull on his harness or collar. Commercial no-pull harnesses can be a hassle since you have to lug them around with you all the time and if you take your dog off the leash, then you have to carry it everywhere with you. Luckily for you, we know how to make a dog harness that will be a good alternative to that.
For this DIY dog harness you will need:
- A dog leash made of soft material (6 feet or longer)
- A dog collar
- A carabiner-type clip, heavy-duty (this one's best)
The simple DIY process
First, attach the carabiner clip to the collar ring. Then, put the collar on your dog. The clip should be on his back, in the center, right between the shoulder blades.
Clip the leash to the ring of the collar as you always do and wrap the lead around your dog’s chest, right behind his front legs. Open the clip so you can put the lead through it.
Take your dog for a walk to try the DIY dog harness out. The leash should tighten around his torso if he pulls, which should slow your pooch down reflexively.
A Few Tips
Using this no-pull harness should not be a substitute for proper training, and remember that actual no-pull dog harnesses work different. Also, if your dog is uncomfortable with this harness or pulls too hard that he risks hurting himself, don’t use this DIY dog harness and switch to something else.
 Make sure that you use a soft leash to prevent chafing behind your dog’s legs. Also, the clip you use has to have a weight limit that can handle your dog’s weight or it can snap when you least expect it. I personally like this dog harness alternative because I don’t have to carry a harness with me – I only need to carry that carabiner clip to use it when necessary.
These were the two basic types of DIY dog harnesses you can easily make by yourself. Of course, there are other ways on how to make a dog harness yourself of different types like a sledding, freighting or carting harness, to name just a few, but that is a bit more complicated and perhaps better left to professionals.
Examples of How to Make a Dog Harness
Below are some examples of people who attempted to make their own homemade DIY dog harness and did a fantastic job. Use them as inspiration for your own DIY harness or take more of their tips on how to make a dog harness at home with what you have.
Crochet DIY Dog Harness
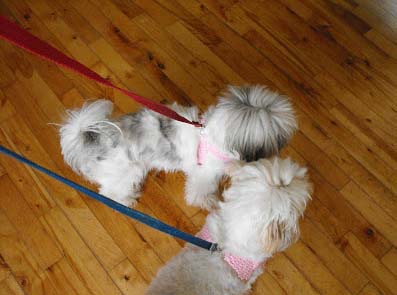
Here's a cute and effective homemade dog harness from Luvs2Knit using the crochet approach where you can also adjust it and make different variants:
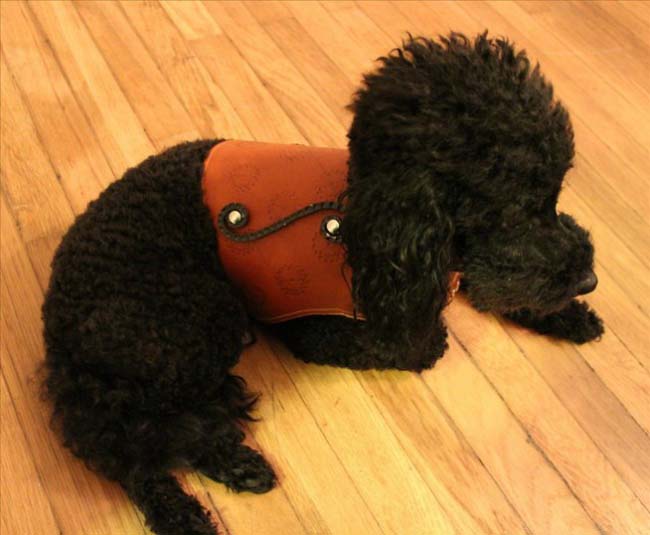
Leather DIY Dog Harness
This is a more complicated homemade dog harness from SteamPunk R&D that looks fantastic. For anyone who wants to learn leatherwork, this is a great project to start with:
Sew A Simple Dog Harness
For anyone who wants to know how to make a dog harness without too much hassle, this relatively simple one from SewMamaSew is a great starting point:

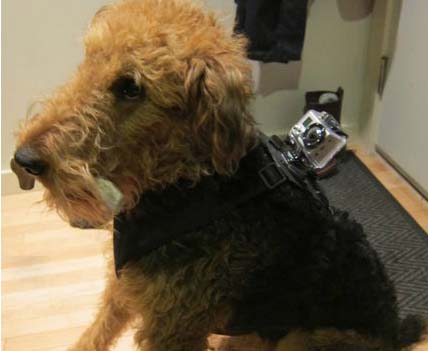
DIY GoPro Dog Harness
By far the most complicated homemade dog harness is this GoPro one from Instructables that will be of interest for anyone who wishes to capture their dog's moments:
With all these ways on how to make a dog harness yourself, you now have a cool DIY project to try and make something for your pooch, but ensure the harness is safe and comfortable to use before going outside with it.
READ NEXT: The 3 Best GoPro Dog Harnesses and How to Pick One Yourself
Disclosure: We may earn affiliate commissions at no cost to you from the links on this page. This did not affect our assessment of products. Read more here and find full disclosure here.


