Table of Contents
Doggy gates can be really expensive, so why not take an afternoon and learn how to make a dog gate? It can be a fun way to spend a day and make your own custom design. Plus, you'll be able to make a gate cheaply that will keep muddy paws away from certain rooms in your home.
You can upcycle and use repurposed materials, often stuff that other people have thrown away, so you can get the majority of what you need totally free! You don’t need to be much of a DIY-er, as learning how to make a dog gate is a really easy project and doesn’t require many tools. Once it’s fitted, you can decorate it however you like so that it suits your hound and your home just perfectly.
For those who aren't keen on building their own dog gates, we have some good advice and reviews of already pre-made dog gates:
- 10 Best Dog Gates for Indoors & Outdoors
- How to Choose Dog Gates and Playpens for Dogs
- 5 Best Playpens that Turn Into Pet Gates

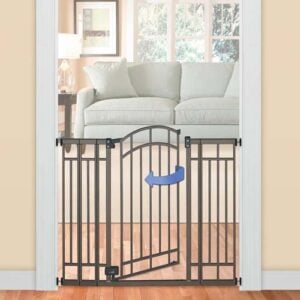
The first thing to do is look at the space where you want to put the gate. You'll need to think about the type of dog gate that you want. A swing door is sturdy and the easiest to install, but if you don’t have much room it might get in the way.
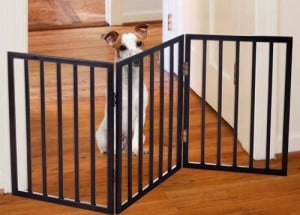
If space is an issue, you can add an extra hinge or two and separate the wood into two or more panels. This will create a folding concertina-style door which is more work initially but perfect for smaller areas.
Next you'll have to prep the area. You’ll need to tidy up, take away any furniture that will get in the way and perhaps sand and prime the walls if they need it. Measure the space the doggy gate will cover. Now you’re ready to get started!
DIY Pet Gates Project: How to Make a Dog Gate at Home
You don’t need many materials for this project, just wood for the gate itself, hinges, screws and a latch. Depending on the type of gate that you are interested in making, you may need a few extra supplies, but these are the basics.
Before you begin, if you're interested in more DIY projects for your dog, here's some advice from the DIY experts:
- DIY Dog Bed Project – How to Make Your Own Pet Bed
- DIY Dog House Project – 5 Expert Tips on Building a Dog House
- DIY Cold Weather Dog House – How to Keep a Dog Warm
Supplies for your DIY dog gate

If you’re on a tight budget or looking to do the environment a favor, try upcycling. You can check your garage and around your house for any wooden furniture that’s not being used. You can also check out garage sales, thrift stores and sidewalks for sturdy things like pallets and even old furniture.
Think outside the box too! For example, moving out week on college campuses is a great time to pick up perfectly good things that are being left behind. Often they’re too big for students to lug back home, but still in perfectly good condition.
Or, you can buy the exact kind of material you want at a home store or DIY shop. Solid wood is a higher quality option while MDF panels and trellises are more reasonably priced and easy to find. Some places may even be able to cut them to size for you, so measure up the space first and bring the numbers along.
RELATED: 15 Reasons to Consider Pet Safety Gates for Your Dog
Just make sure you don’t pick a material that has gaps that your dog could get an inquisitive nose or paw caught in. If there are open areas – for example if you’re using a trellis or pallet – ensure the gaps are large, but still too small for heads to squeeze through.
Here you can also pick up your hinges – the amount will depend on the design you have chosen, but you’ll need at least two. Once you’ve chosen those, you can pick up the corresponding screws.
Next you want to purchase a latch. You can choose any kind of latch you like: sliding, hook or pressure. A couple of things to remember, though:
- You want a latch that is difficult for your dog to open. If you have a clever pooch, you may want to avoid thumb pressure latches and hook types.
- You do want a latch that’s easy for you to open. You don’t want to have to clamber over the gate every time just because the lock takes twenty minutes to open!
- The best choices would be sliding bolt types where you can lock in the tab, or a spring-loaded latch – your dog will get frustrated before he ever gets through!
RELATED: Playtime Protectors – Dog Playpens or Pet Gates?
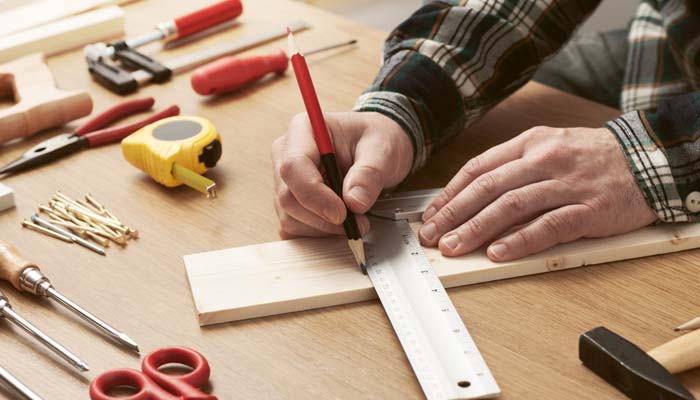
The tools and materials you will need when learning how to make a dog gate will vary a bit depending on what your starting materials are and what kind of design you are going for. Likely you’ll need:
- Tape measure
- A belt sander*
- Drill
- Screwdriver
- A hand saw can work too if you’re using thin wood
- Primer, paint, varnish and paintbrushes
- Goggles and dust mask for sanding and varnish/paint fumes
* If your material is smooth already then only the cut edges will need sanding, so sandpaper would work.
How to build your DIY dog gate
The method for learning how to make a dog gate is really simple, even if you’re not an expert at DIY. First, measure the gap you want the dog gate to cover, allowing about a quarter of an inch on either side for the hinges. You also want to allow a small clearance gap of about half an inch off the ground so the bottom of the gate doesn’t scratch your floor.
Make sure that there isn’t enough space for your dog to get his paw or nose caught beneath it, reduce the clearance if you have a very small breed or a puppy.
Next you'll need to measure your materials. Use a marker to set out the area you will be cutting. Use the drill to drill four holes, one in each corner (or two in the top corners if you already have a straight side).
Now you can go in with your jigsaw and cut from hole to hole. This method will help you keep your cuts straight and help prevent catching when turning the saw at a right angle to make corners.
If you’re doing a doggy gate that folds with hinges in the center, you will need to repeat this across many panels until you have the amount you want. Make sure they’re all the same size. Sand down the edges so they are completely smooth. At this point, if you need to sand the entire piece, you can go ahead and do that now.
RELATED: Don’t Buy Indoor Pet Gates for Dogs Before Reading This
Use a marker to draw points on the door and wall, and then drill the holes for the hinges into the wall. Fit in wall plugs to keep the screws secure. Drill a hole on the opposite side for the latch if needed. Screw the hinge into the wood directly and then line up the hinges with the holes in the wall and screw in.
Give your DIY dog gate a couple of test swings, make sure it opens and closes easily, is level and the latch fits well. If something didn’t work out, you can just readjust the height a little bit – still being careful about not allowing too much clearance – and start again. Any holes can always be filled.
The finishing touches

Now you can choose to decorate your new doggy gate however you like! You might like to keep a cool, refurbished vibe and simply leave the gate sanded. You can varnish it – allowing plenty of time to dry before letting your dog investigate – or you can paint it however you like.
The best part is, no one else will have a gate just like yours, so let your imagination run wild.
Save yourself a ton of money and get the perfect product by learning how to make a dog gate using either upcycled materials or brand new ones, fixing it across the space and attaching a latch and those special finishing touches to make it completely unique. The job will be all done in just a couple of hours!
Disclosure: We may earn affiliate commissions at no cost to you from the links on this page. This did not affect our assessment of products. Read more here and find full disclosure here.


