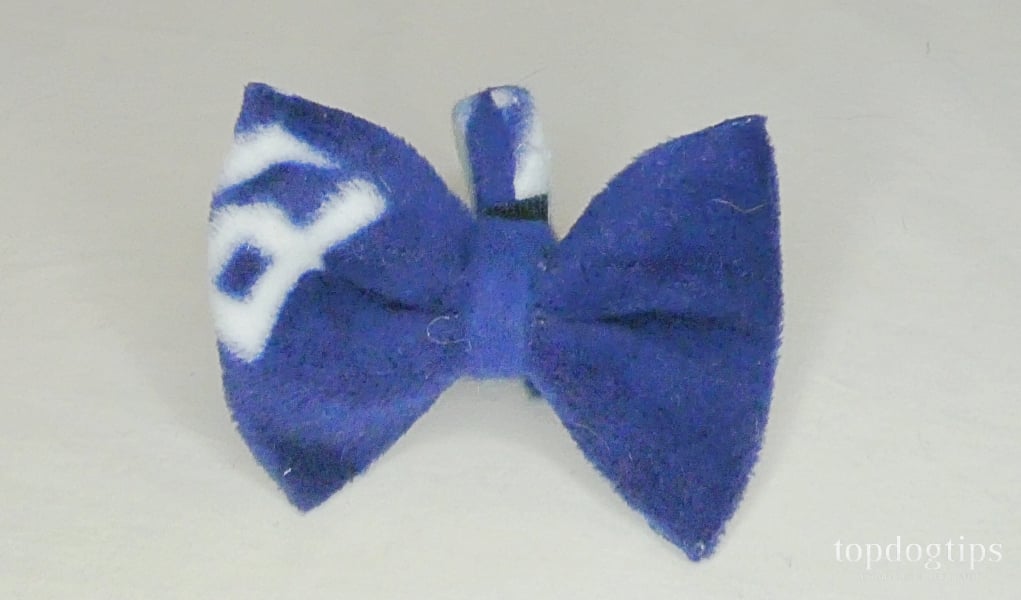
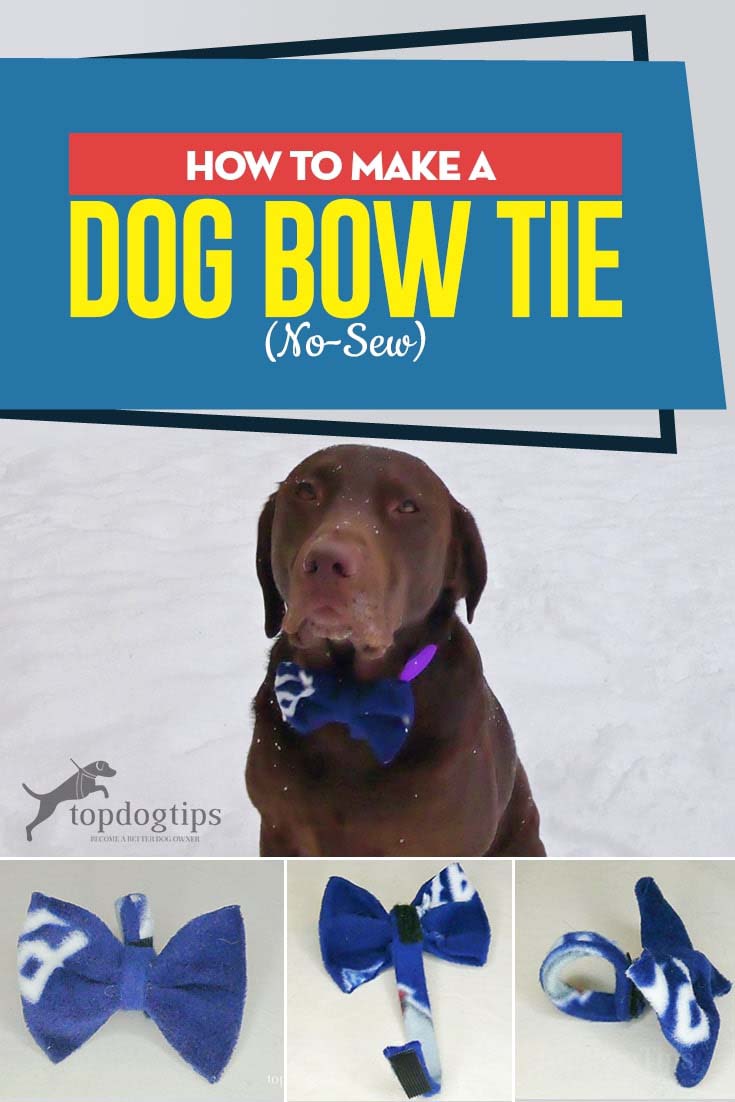
A bow tie makes a very distinct impression. If you want your dapper dog to make a great impression, learning how to make a dog bow tie is simple. It only takes a couple of scraps of fabric and a hot glue gun, and your pooch will be looking like a debonair gent!
I stumbled upon this method for making DIY dog bow ties years ago. While I don't outfit my girls with bow ties, I do make them as gifts for some of the canines on my holiday shopping list. These are a cheap, unique and easy-to-make gift that dogs and dog owners will love!
I like this design because it's easy to alter the size of the bow, and you can make one large or small enough to fit any dog collar. You probably have some fabric scraps lying around. If not, you can cut up old clothing, towels or blankets to make this bow tie.
How to Make a Dog Bow Tie (No-Sew)
 When cutting your pieces of fabric, remember that the finished bow tie will be about 1/2 as long and 1/2 as tall as the original piece of fabric. For example, the large piece of fabric that I cut in my video guide is about 10″L x 3″H. My finished bow tie is only about 5″L x 1.5″H.
You'll also need to cut a smaller piece of fabric that is the same length as the larger piece, but only 1/3 as wide. So, the smaller piece of fabric that I cut in my video guide is about 10″L x 1″WH.
Set the smaller piece of fabric aside for now.
Find the center (width wise) of the larger piece of fabric. Put a line of hot glue down the center, and bring each of the ends into the center. When the glue has dried, flip it over and place a large dot of glue in the center of the other side.
RELATED: Top 10 Best Dog Costumes for Dressing Up
 As I demonstrate in my video guide above, you'll need to pinch the top and bottom of the cloth into the center. This will scrunch the center together to begin forming the bow. Now, when learning how to make a dog bow tie, you'll need to turn it to the back side, and put on a dot of glue on either side. Fold each side in to the glue, and this will finish forming the bow.
Check the bow over to see if there are any areas that need a little bit more glue. Once you finish touching up the bow, it's time to move on to the small strip of fabric that will become the center of the bow tie.
You'll need to place a strip of hot glue down the long side of the smaller piece of fabric. Fold the long edge into the center of the strip. The next step when learning how to make a dog bow tie is to do the same thing to the other long edge of the small piece of fabric.
SIMILAR: 33 DIY Ideas for a Frugal Pet Owner [Infographic]
 This small strip is going to be the center of the bow tie. As you will see in my video guide, you'll need to place a small dot of glue in the middle of the back of the bow tie. Stick one end of the long strip here, and then wrap the rest of the strip around the center of the bow. When it's wrapped around, secure it with another dot of glue.
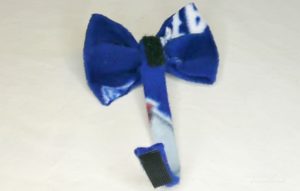
At this point you're probably wondering what to do with the ‘tail' or excess that is left over. This is going to be what secures the bow tie to your dog's collar. You'll need to attach a small piece of Velcro to the end of the strip of fabric and to the center of the bow. This is also demonstrated in my video guide.
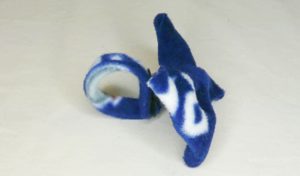
You now know how to make a dog bow tie. Simply wrap the strip of fabric around your dog's collar and secure the Velcro. If the strip is too long, the bow tie will be loose on the collar. You can trim the strap to the appropriate length to make it tight.
READ NEXT: 6 Best DIY Project Ideas for Dog Owners


