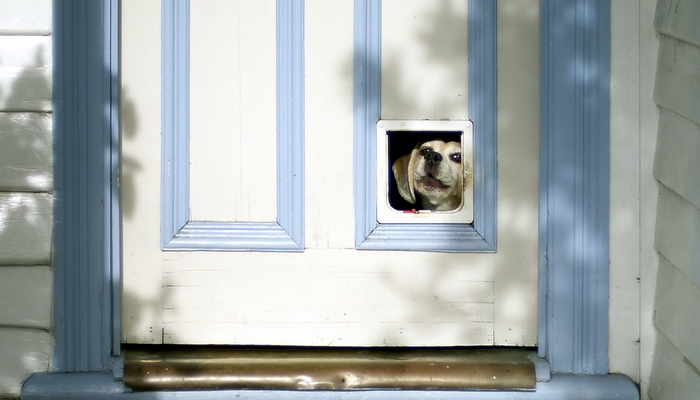
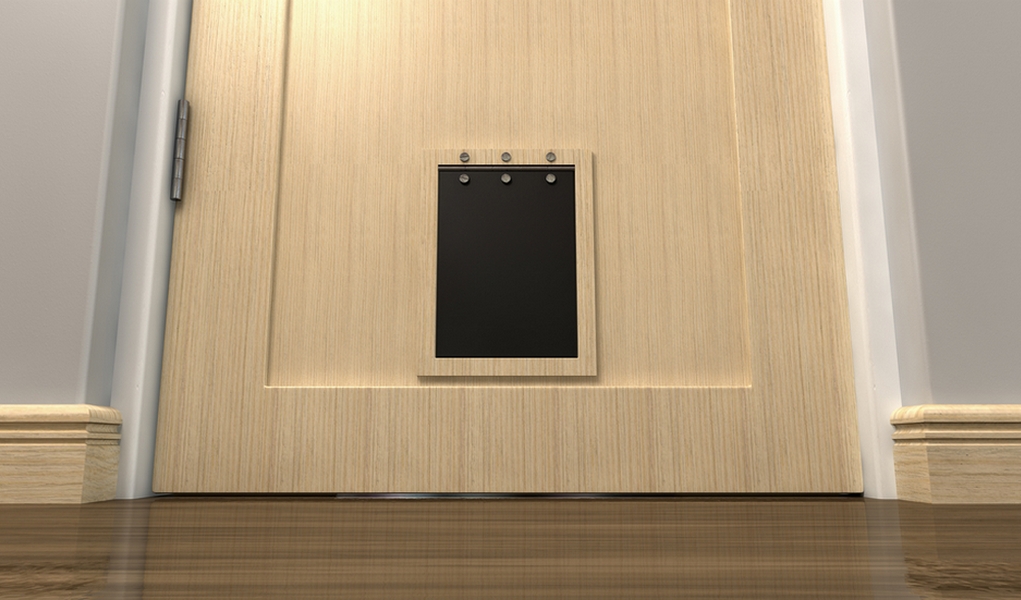
Giving your dog free access to an enclosed backyard or garden can make life easier for you and more interesting for your pet. You won't have to listen to anymore whining at the back door for play time or toilet time. Learning how to install dog doors at home is easy when you have the right tools, a checklist of things to do and know-how.
Dog doors come in a range of sizes to suit all breeds – we've picked 10 best doors for dogs here. Remember that primarily, there are three different types of dog doors, and for dog door installation, it does matter which ones you pick. Three most popular ones are:
- Electronic dog door (automatic doors)
- Regular dog flap doors
- Heavy duty flap doors
Pick the right doggy door first
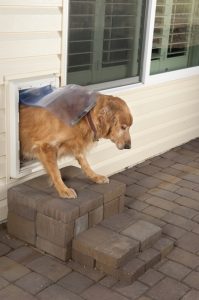 When shopping for doggy doors, make sure you buy the right sized pet door by following some simple measuring instructions.
Measure your dog across the width of his shoulders. Then, add 2 inches to this measurement to arrive at the minimum flap width.
You'll also need to find the top of your dog’s shoulder blade and measure down to the base of his belly. Again, add 3 inches to this measurement to arrive at the minimum flap height. Pick a dog door that exceeds your minimum dimension requirements.
Choose a place for installing dog door
You will also have to decide where you want to install dog doors. Usually, pet owners choose between these three places:
- House door/backyard door
- Garage door
- Wall, anywhere (the most difficult)
If you'll be putting the dog flap in a garage door, check that it will not obstruct springs and other parts of the opening mechanism. If you choose the wall, make sure you're not cutting through any wires, pipes and so forth. Ultimately, backyard door is the easiest.
The dog flap door shouldn't be too close to the door handle, otherwise unwanted visitors may reach through the flap to unlock your home door. If you have a large dog, consider installing a lockable flap to prevent an intruder from climbing through the flap.
Screen doors have slightly different pet doors. If you want to install a doggy door into your screen doors, then here are the best screen doors with doggy doors that work well.
How to Install Dog Doors at Home
Prepare for Installation
The first step is deciding who should install dog doors in your home. Sometimes you can do the job yourself, but in some cases you should really consult an expert if you want the job done right.
If you're installing the dog flap in a standard wooden or UPVC door, the installation is a straightforward enough procedure for the DIYer to perform. Similarly, glass patio doors require a specific type of dog door insert. These are easy to install yourself, but instructions will vary according to the manufacturer.
You may want to install your dog door in a wall, which is could be a self-installation job if you have the right kit.
Just be sure to purchase a door that comes with a wall tunnel insert.
If you have a metal or glass door, they are much more complex. It is best to hire an installation professional to do the job. For the purpose of this article, I'm going to focus on installing a dog door into a standard household door or wall.
READ MORE: The Convenience of Electronic Dog Doors
Get the Right Tools
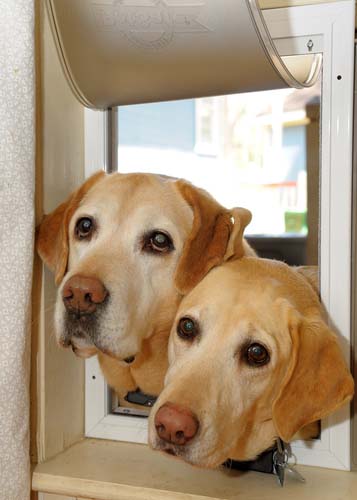 Dog door kits usually come with a template for the hole and screws for mounting. Below I will list what you'll need.
For installation into a household door:
- Spirit level
- Pencil or Sharpie marker
- Drill
- Half-inch drill bit
- Jigsaw
- Screwdriver
- Sealing caulk and gun
- Masking tape
- Sawhorse (if you need to remove the door to make the cut)
For installation into a wall:
- Spirit level
- Pencil or Sharpie marker
- Drill
- Half-inch drill bit (standard and masonry)
- Circular saw (and masonry blade)
- Screwdriver
- Sealing caulk and gun
- Masking tape
- Rubble sack
- Dustpan and brush
How to Install Dog Doors Into a Household Door
Step #1 – Mark up the hole
Measure your calculated mounting height from the bottom of the door. Mark it using a level and pencil.
Place the top edge of the template on this line and fix it in place with masking tape. Check the level again.
Grab your pencil or Sharpie and trace around the template. Remove and discard the template.
Step #2 – Do a double check
Check positioning on both sides of the door before you start cutting into your door panel.
Step #3 – Prepare to cut
Drill a hole in each corner of the outline that you have made. These holes will help you to get your cut started.
Drill completely through the door and make sure the holes are large enough for your jigsaw blade to be maneuvered.
Step #4 – Make the first cut
In most cases you can complete this stage of learning how to install dog doors with house entry door in place. If you’re working in a tight space with little room to maneuver, then it may be necessary to take the door off its hinges and make the cut on a sawhorse.
If you’re right-handed – Insert the jigsaw into the hole in the lower left corner. Switch the jigsaw on and follow the bottom pencil line in an anti-clockwise direction until you reach the next corner hole.
If you’re left-handed – Insert the jigsaw in the lower right-hand corner and move in a clockwise direction.
Move the jigsaw slowly and smoothly, letting the machine do the work. If the wood starts to burn, you’re going too slowly. If the jigsaw starts to labor, you’re going too fast and risk burning out the motor.
Just move slowly with fluid motions. If you get tired, take a break. Rushing may cause you to make a wrong cut.
Step #5 – Complete the cut
Turn the jigsaw 90 degrees in an upward direction and continue cutting along the outline. Continue in the same way until you have cut around the entire outline.
The cut piece should pop out with ease, leaving you with a clean cut hole into which you will install the dog door.
Step #6 – Insert the frame
Following the manufacturer’s instructions, insert the central frame into the hole. Next, attach the internal and external frames, sandwiching the central frame in the hole.
Step #7 – Fixing the door into place
Once the door is sandwiched tightly you can screw it firmly into place using the screws that came with the kit.
Step #8 – Seal the dog door
Use your sealing caulk and gun to seal the outside edges of the internal and external frames.
MORE INSTALLATION TIPS: How To Install A Dog Door At Home
How to Install Dog Doors In Drywall
Step #1 – Locate the wall studs
When learning how to install dog doors in drywall, you need to understand that the door has to be installed between two wall studs.
Tap the interior wall to locate the studs in the area that you wish to install the door. Mark the location of the studs.
Make sure that there are no electrical wires or pipes installed between the studs.
Step #2 – Mark up and create interior hole
Stay on the internal side of the wall. Follow steps 1–5 in the section Installation Into A Household Door above.
Step #3 – Drill corner holes in the external wall
Mark the inside of the exterior wall with a “X” that corresponds with each corner of your cut-out.
These will be the corner-points for the exterior wall cut-out. Drill a hole right through the exterior wall at each ‘X’.
Step #4 – Prepare the exterior cut
Work from the outside of the exterior wall now. Use a pencil and straight edge to mark lines between each drilled hole, forming your cut-out shape.
Step #5 – Cut the hole
Use the circular saw and masonry blade to cut along your pencil guide lines. When finished, remove the debris on both sides of the wall.
Step #6 – Drill the mounting holes
The manufacturer usually supplies a template and drill bit sizes for drilling the mounting holes. If not, use the frames containing the mounting holes as a template. Mark the holes with a pencil on the interior and exterior walls then drill the holes.
Step #7 – Install external frame
Working from the outside wall, fit the outer frame into the exterior opening and secure with screws in each mounting hole.
Step #10 – Install the manufacturer’s wall tunnel
Fit the wall tunnel into the outer dog door frame from the interior wall. Follow any additional instructions provided by the manufacturer.
Step #11 – Install internal frame
The internal frame is the one containing the flap. Attach it to the wall tunnel and secure the frame by inserting screws into each corner hole.
Step #12 – Seal the dog door
Use your sealing caulk and gun to seal the outside edges of the internal and external frames.
Post-Installation – Teach Your Dog To Use The Pet Door
Learning how to install dog doors isn't your only task. Fido won’t automatically know what the dog door is all about so you need to show him. It’s a straightforward process but be calm, encouraging and patient with your furry friend.
Most dogs get the hang of their new door if you push a favorite toy or treat through the door a few times. If your pooch is particularly nervous or slow to work things out, then try borrowing a dog that already uses a dog door and let them do the teaching. Reward your dog with praise and a treat when he gets the hang of it!
Want the easiest, warmest and safest option of dog doors? Try automatic ones!
READ NEXT: Top 5 Best Automatic Dog Door


