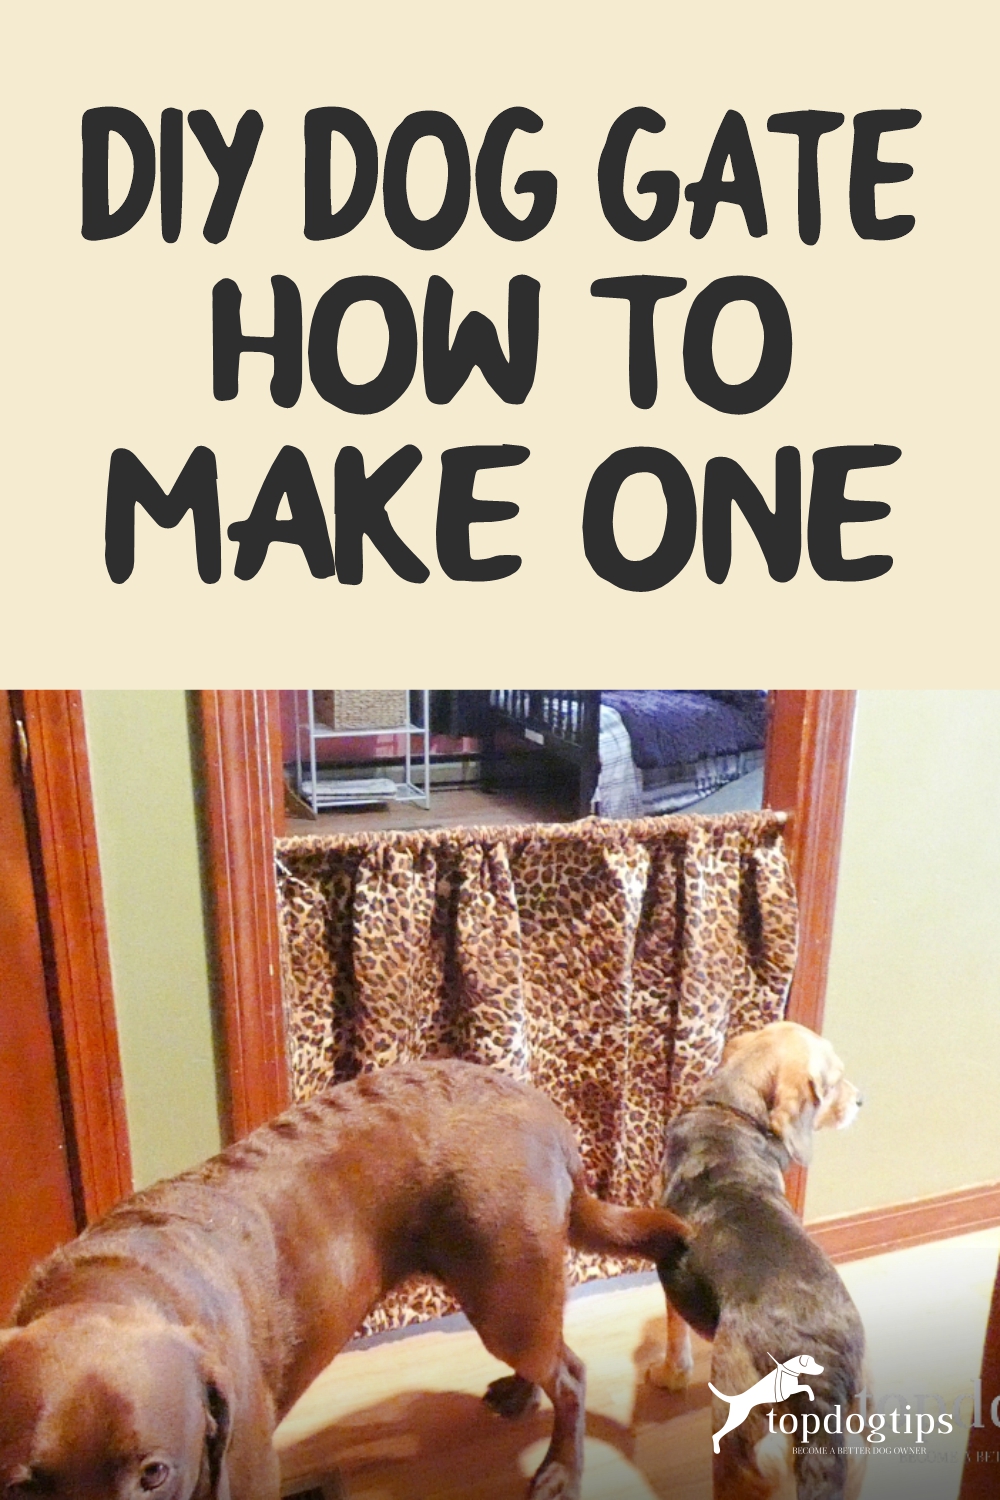
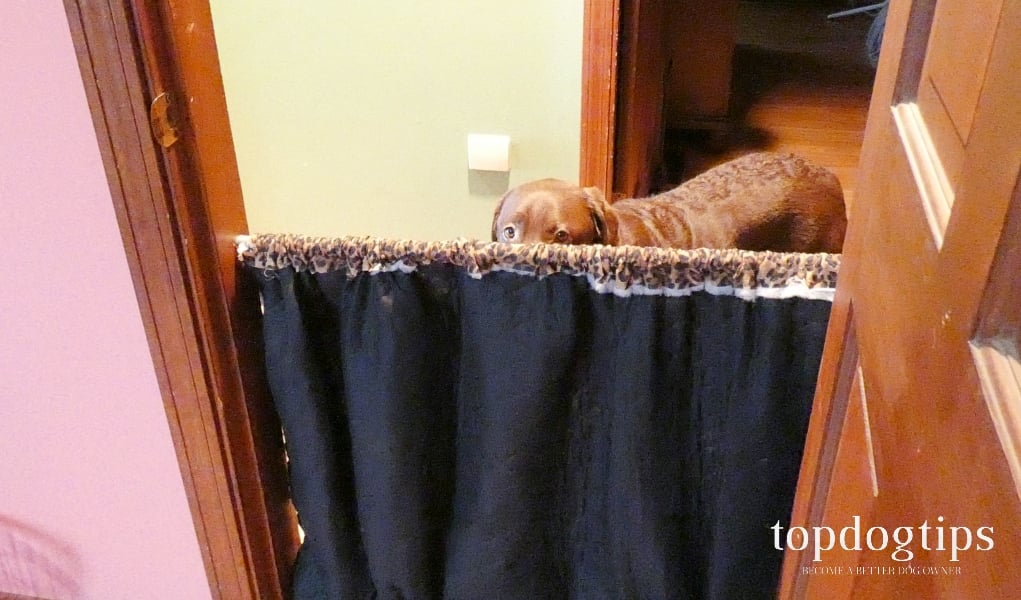
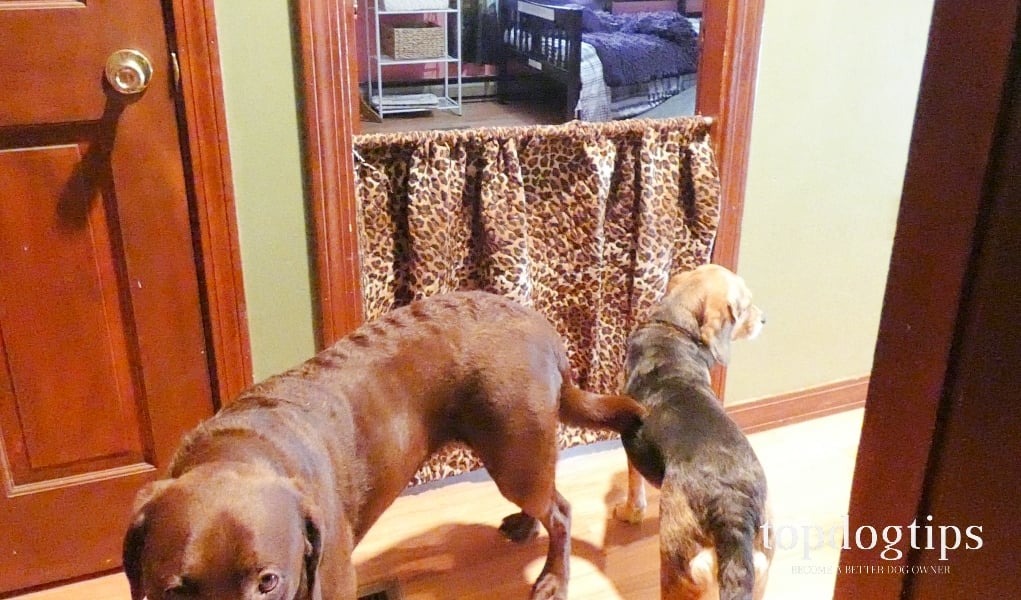
If you've been a dog owner for any amount of time, you know that canines are unpredictable. You never know where their curiosity will take them or what they'll find interesting. A DIY indoor dog gate will keep your pet from getting into areas that he shouldn't have access to.
Pet gates are barriers that will prevent your dog from entering or exiting a specific area. They are designed to keep your pet away from anything that could cause him harm. They're also beneficial in the event that you need to separate your dog for some reason or keep him contained in a certain room for a period of time.
Dog gates come in handy if you have a curious puppy, a dog recovering from an injury and when you have guests in your home. There are dozens of reasons why a pet gate could be needed, which is why I recommend every dog owner have one.
Commercial gates are expensive. You can save yourself a lot of money by making a DIY dog gate for less than $20. I like this gate because it can be catered to your specific needs. You can make it the right height and length to fit wherever you'll be using it, and it's adjustable!
DIY Dog Gate: How To Make One
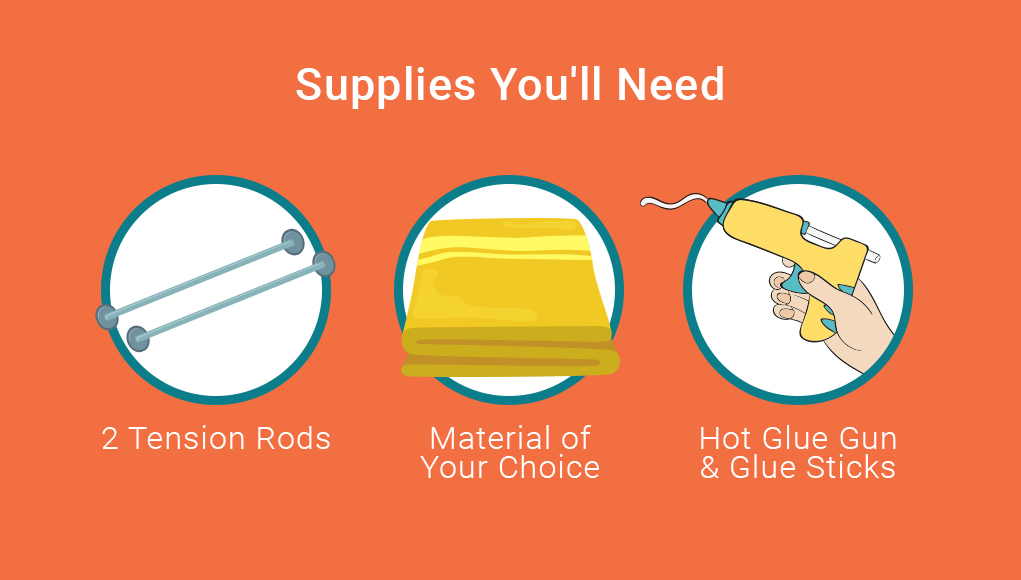
 Supplies You'll Need
How To Make A DIY Dog Gate
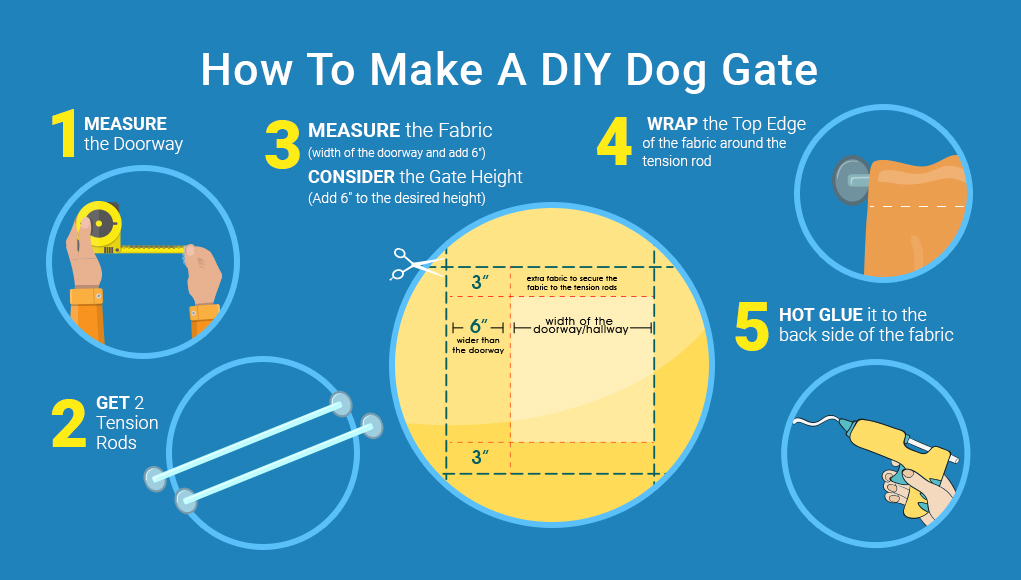
Before collecting the supplies you will need, measure the doorway or hallway that you plan to block off with the gate. You'll need to get 2 tension rods that will extend at least much. For example, if the doorway you want to block is 32″ wide, you'll need tension rods that extend at least 32″.
Now, you'll need to measure for the fabric that you'll have to purchase. Take the measurement of the width of the doorway/hallway and add 6″. This means the fabric will be 6″ wider than the doorway, which will allow you to adjust it to fit a wider area if needed in the future.
Consider how high you want the gate to be. Add 6″ to the desired height. This will allow for 3″ of extra fabric on the top and bottom that can be used to secure the fabric to the tension rods.
One of the great things about this DIY dog gate is that you can choose any material that you want. As you can see, I chose an animal print pattern to match my daughter's bedroom décor. You can choose any material that will match your home or a pattern with bold colors that really sticks out, if that's what you want.
ALSO: 15 Reasons to Consider Pet Safety Gates for Your Dog
Now that you have all of the materials, it's time to put your pet gate together. It's so simple! Just wrap the top edge of the fabric around one of the tension rods and hot glue it to the back side of the fabric. You can see a close up of how I do this in the video above.
Do the same thing with the bottom edge of the fabric and the other tension rod. It's that simple. Now you have an adjustable dog gate that looks great and can be moved around your home when needed.
Just keep in mind that this is not a very stable gate. If you have a dog that scratches or climbs, you're going to need a much sturdier gate. In this case, you will want a gate that secures to the wall with hardware to ensure that your dog can't knock it over.
READ NEXT: How To Choose Dog Gates and Playpens for Dogs
