Most dog owners assume that making their own dog treats will be time consuming and difficult. In reality, it's easy and homemade dog treats are much healthier than most of the commercial treats you find on pet store shelves. You'll also have the peace of mind of knowing exactly what ingredients are in the treats that you're feeding your dog.
While some recipes take a lot of prep work or require special baking tools, this one is very simple. And what dog doesn't like the flavor of bacon?
My favorite thing about making my own dog treats is that I can choose how healthy the ingredients are. I substitute whole wheat flour when possible and buy as many natural, fresh, organic ingredients as I can.
You can also add supplements to your homemade dog treats, like glucosamine and chondroitin. In biscuits like these, I like to add a couple of tablespoons of fish oil. It's great for skin and coat health!
MORE IDEAS & VIDEOS: Homemade Dog Food & Dog Treats Recipes
Homemade Bacon Dog Biscuits Recipe
Ingredients
- 2 cups whole wheat flour
- 1/2 cup melted bacon fat
- 1 large egg
- 1/2 cup warm water
Preheat your oven to 350°.
This recipe is super simple! The only prep work is cooking some bacon, but if you plan things right you can have bacon for breakfast and save the drippings for this recipe.
If you're not going to be making these treats on the same day that you cook bacon, just store the fat in a covered container in your refrigerator until you're ready to make the treats. It will keep for 7-10 days.
To make these Bacon Dog Biscuits, simply combine all 4 ingredients in a large mixing bowl and mix until a dough forms. As I mention in the video above, if the dough is too sticky, you can add some extra flour. If you the dough is too stiff, you can add a bit more water or bacon grease.
CHECK OUT THIS RECIPE: Homemade Chicken Jerky Dog Treats
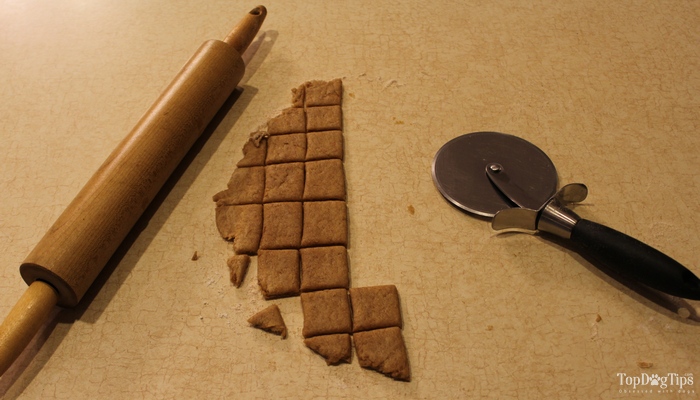
Spread about 2 tablespoons of flour onto a clear counter top. Roll out the dough with a floured rolling pin until it's about 1/4-inch thick.
If you'd like to cut your dog biscuits into cute shapes with cookie cutters, you certainly can. However, as you'll see in my video, I just cut them into squares with a pizza cutter. It's faster, easier and allows me to easily cut bigger biscuits for our large breeds and little biscuits for our small breed.
You can also poke small divots into the biscuits using a fork, like I do, or some other pointed object, like chop sticks or a skewer. This doesn't do anything aside from giving the biscuits a unique look. I usually only take the time to do it if we're giving the biscuits away as a homemade gift.
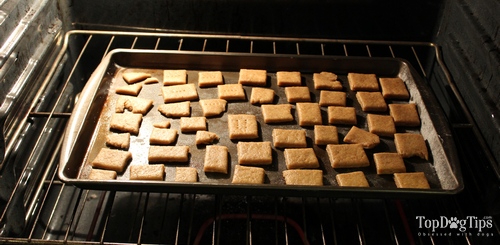
 Grease and flour a cookie sheet, and then transfer the biscuits onto it. You don't need to space them out, as there is no rising agent (like yeast) that will make them plump up while they cook.
Bake for 20 minutes.
You can store the treats in an airtight container for 7-10 days. Storing them in the refrigerator will also make them last a bit longer.
This recipe usually yields about 4 dozen dog treats. If you won't use that many before they go bad, you can freeze some of the treats before baking. Just bake as many as you want and place the rest on a cookie sheet and stick it in the freezer. Once the treats are frozen, you can place them in a container or freezer bag and store them until you're ready for baking.
RELATED: 15 Best Healthy Treats for Dogs That Are USDA Certified Organic


