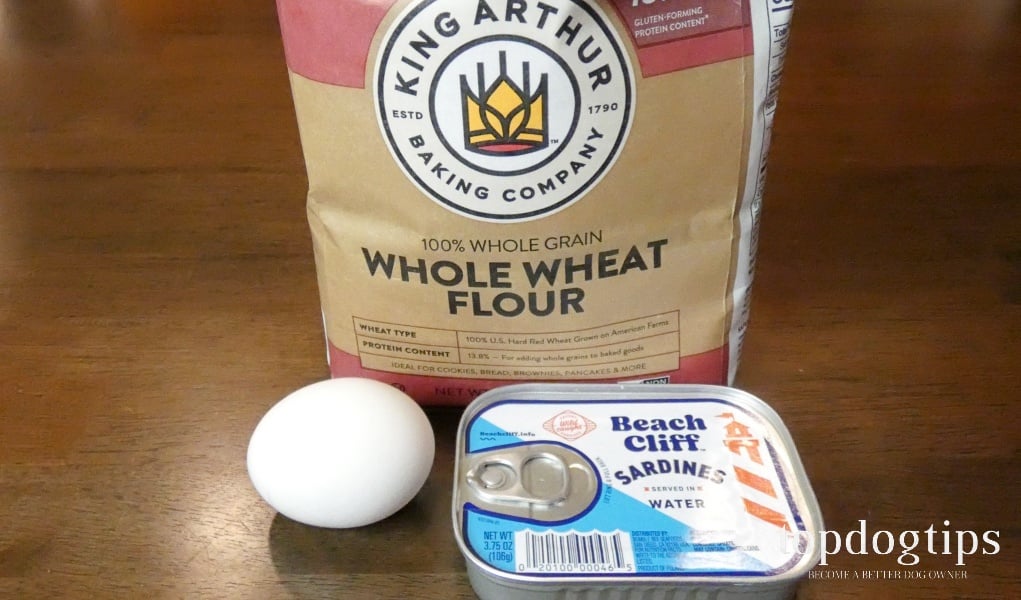
Sardines are a high protein food that can be very beneficial to cats. These little fish are also packed with important nutrients including Vitamin B-12, Vitamin D and Omega-3 Fatty Acids. This DIY cat treat recipe can be fed to any cat, as long as they don't have allergies or food sensitivities.
Sardines should be fed sparingly, as fish can contain heavy metals and canned fish has a high salt content. I wouldn't include sardines in my cats' daily diet, but they're great to include in a homemade cat treat recipe.
I enjoy making DIY cat treat recipe options because I can control exactly which ingredients are used and how the treats are prepared. When possible, I look for organic, all-natural, whole food ingredients. I try to include superfoods that add a nutritional boost to pet's diet.
DIY Cat Treat Recipe with Sardines
 Cat treats shouldn't make up a large part of your pet's diet, so many owners don't think the quality of the treats is that important. If you're one of these owners, you're sadly mistaken. Making this DIY cat treat recipe will ensure that your pet is getting a safe, healthy snack.
DIY Cat Treat Recipe with Sardines
These homemade cat treats are made with just three ingredients. They are a great option for cats with digestive problems or food allergies. You could also substitute a different kind of fish, if your picky cat doesn't like sardines.
- Prep Time: 20 minutes
- Cook Time: 10 minutes
- Total Time: 30 minutes
- Yield: about 60 treats 1x
- Category: Cat Treats
- Method: Baked
- Cuisine: Baked Treats
Ingredients
- 1/2 cup whole wheat flour
- 1 egg
- 3.75 ounce can of sardines packed in water or oil
Instructions
Preheat oven to 350˚F.
In a small mixing bowl combine the flour and egg. You can puree the sardines before adding them to the mixture, but you don't need to. As you can see in my video guide above, you can simply mash them as you mix the ingredients and they'll break into pieces small enough for the treats.
Mix all of the ingredients together until it forms a dough. If the dough is too sticky, you can add small amounts of flour until it's a consistency similar to cookie dough.
Take about one teaspoon of the dough and roll it into a ball. Flatten the balls on an un-greased cookie sheet. Bake this DIY cat treat recipe for approximately 10-12 minutes. You'll know the cookies are done when they begin to brown and crack on the top.
Once the cookies have cooled completely, you can serve them to your pet. Keep in mind that these treats will add additional calories to your cat's diet, so you'll want to feed them sparingly to avoid unnecessary weight gain.
Nutrition
- Serving Size: 1 treat
- Calories: 9
- Sugar: 0 g
- Sodium: 10 mg
- Fat: .3 g
- Carbohydrates: .8 g
- Fiber: 0 g
- Protein: .6 g
- Cholesterol: 5 mg
How to store: Store leftover treats in an airtight container in the refrigerator for 12-14 days. Remember that homemade treats do not have the preservatives that store bought products do. They will not last as long. If you'd like, you can freeze these treats in an airtight container for up to 3 months.
For More Information
We publish many homemade cat food and treats recipes every month. For more recipes, pet food cooking tips and advice, see our “Recipes” section. If you're new to the home cooked pet food subject, I recommend you read more about “How Much To Feed” to understand serving sizes, “What Supplements To Use” to create well-balanced meals, and “How To Store” for tips on simple and easy homemade pet food storing in a fridge or a freezer.


